
Incorporating Vintage Furniture into Modern Spaces: A Complete Guide
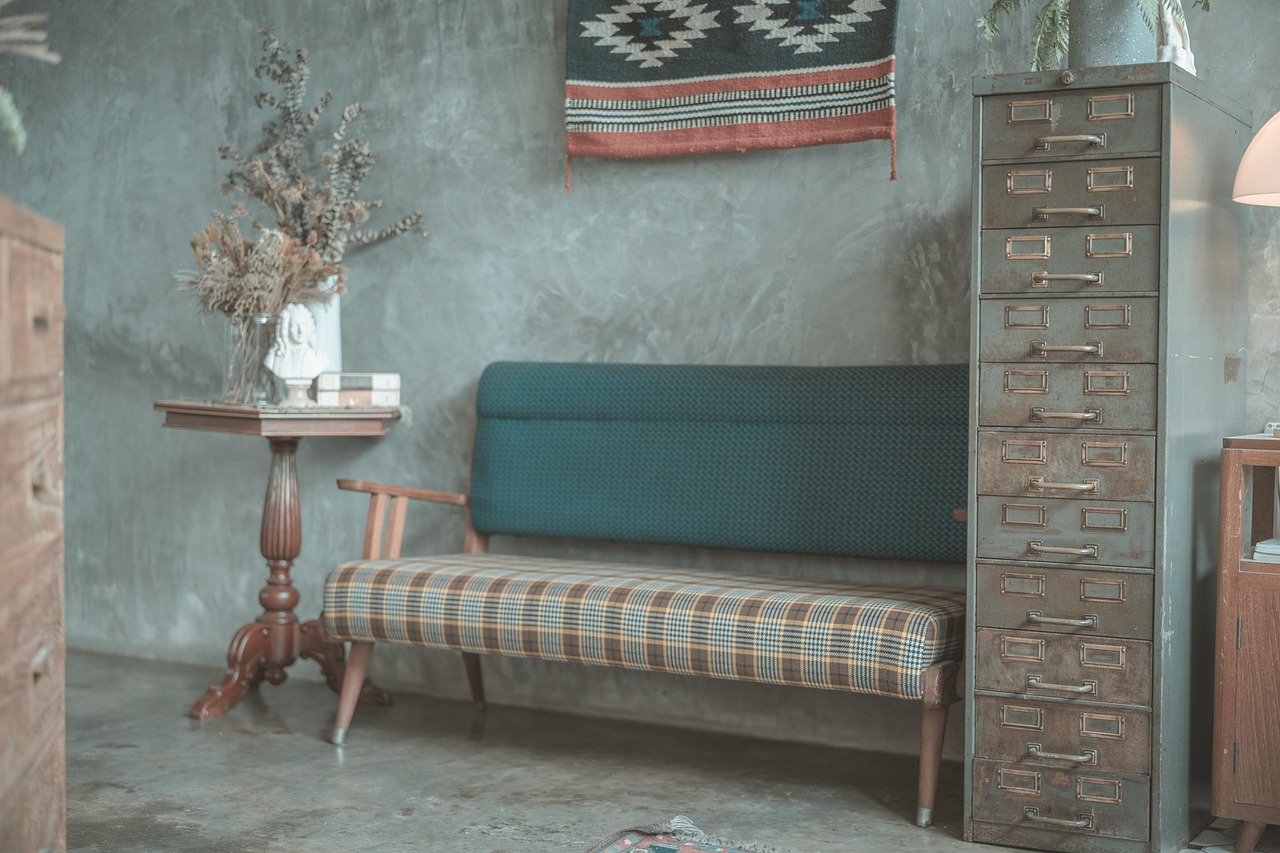
In today’s design landscape, the fusion of vintage and contemporary elements creates spaces with character, depth, and uniqueness. Integrating vintage furniture into modern homes isn’t just trendy—it’s a sustainable approach to decorating that celebrates craftsmanship while adding distinctive personality to your space. (more…)
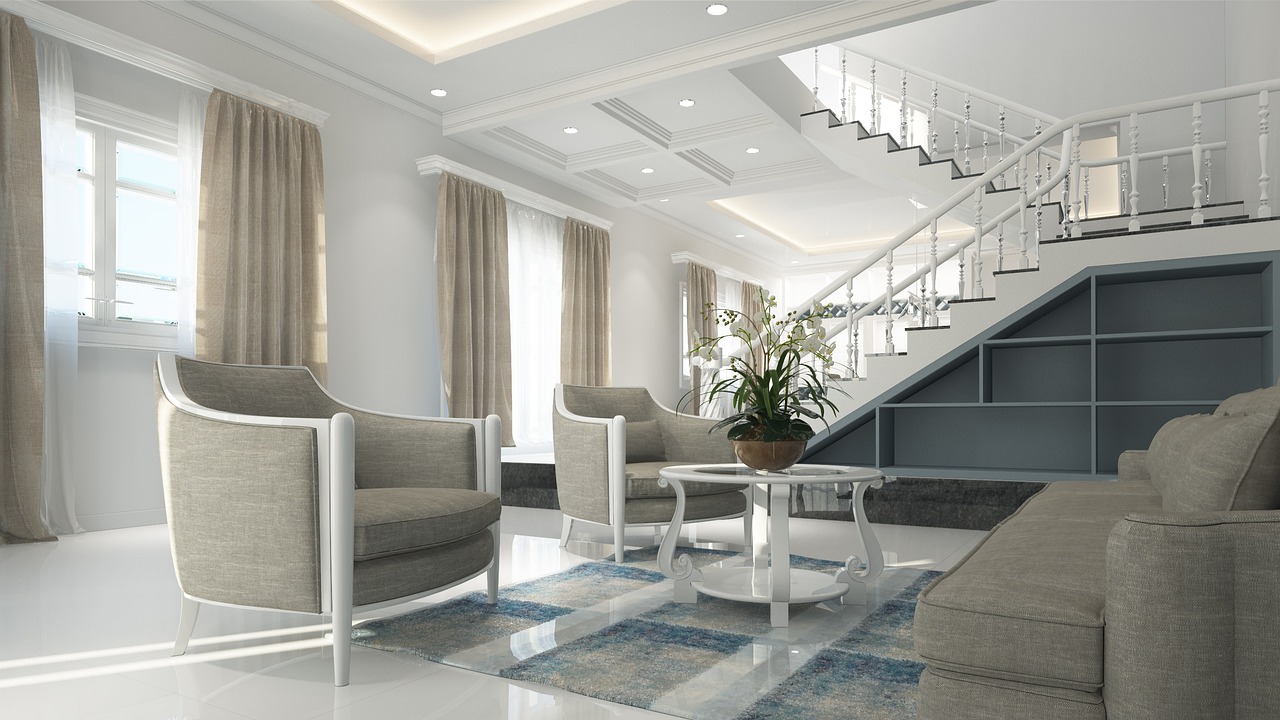
Achieving Balance in Open Concept Living: Design Strategies for Functionality and Aesthetics
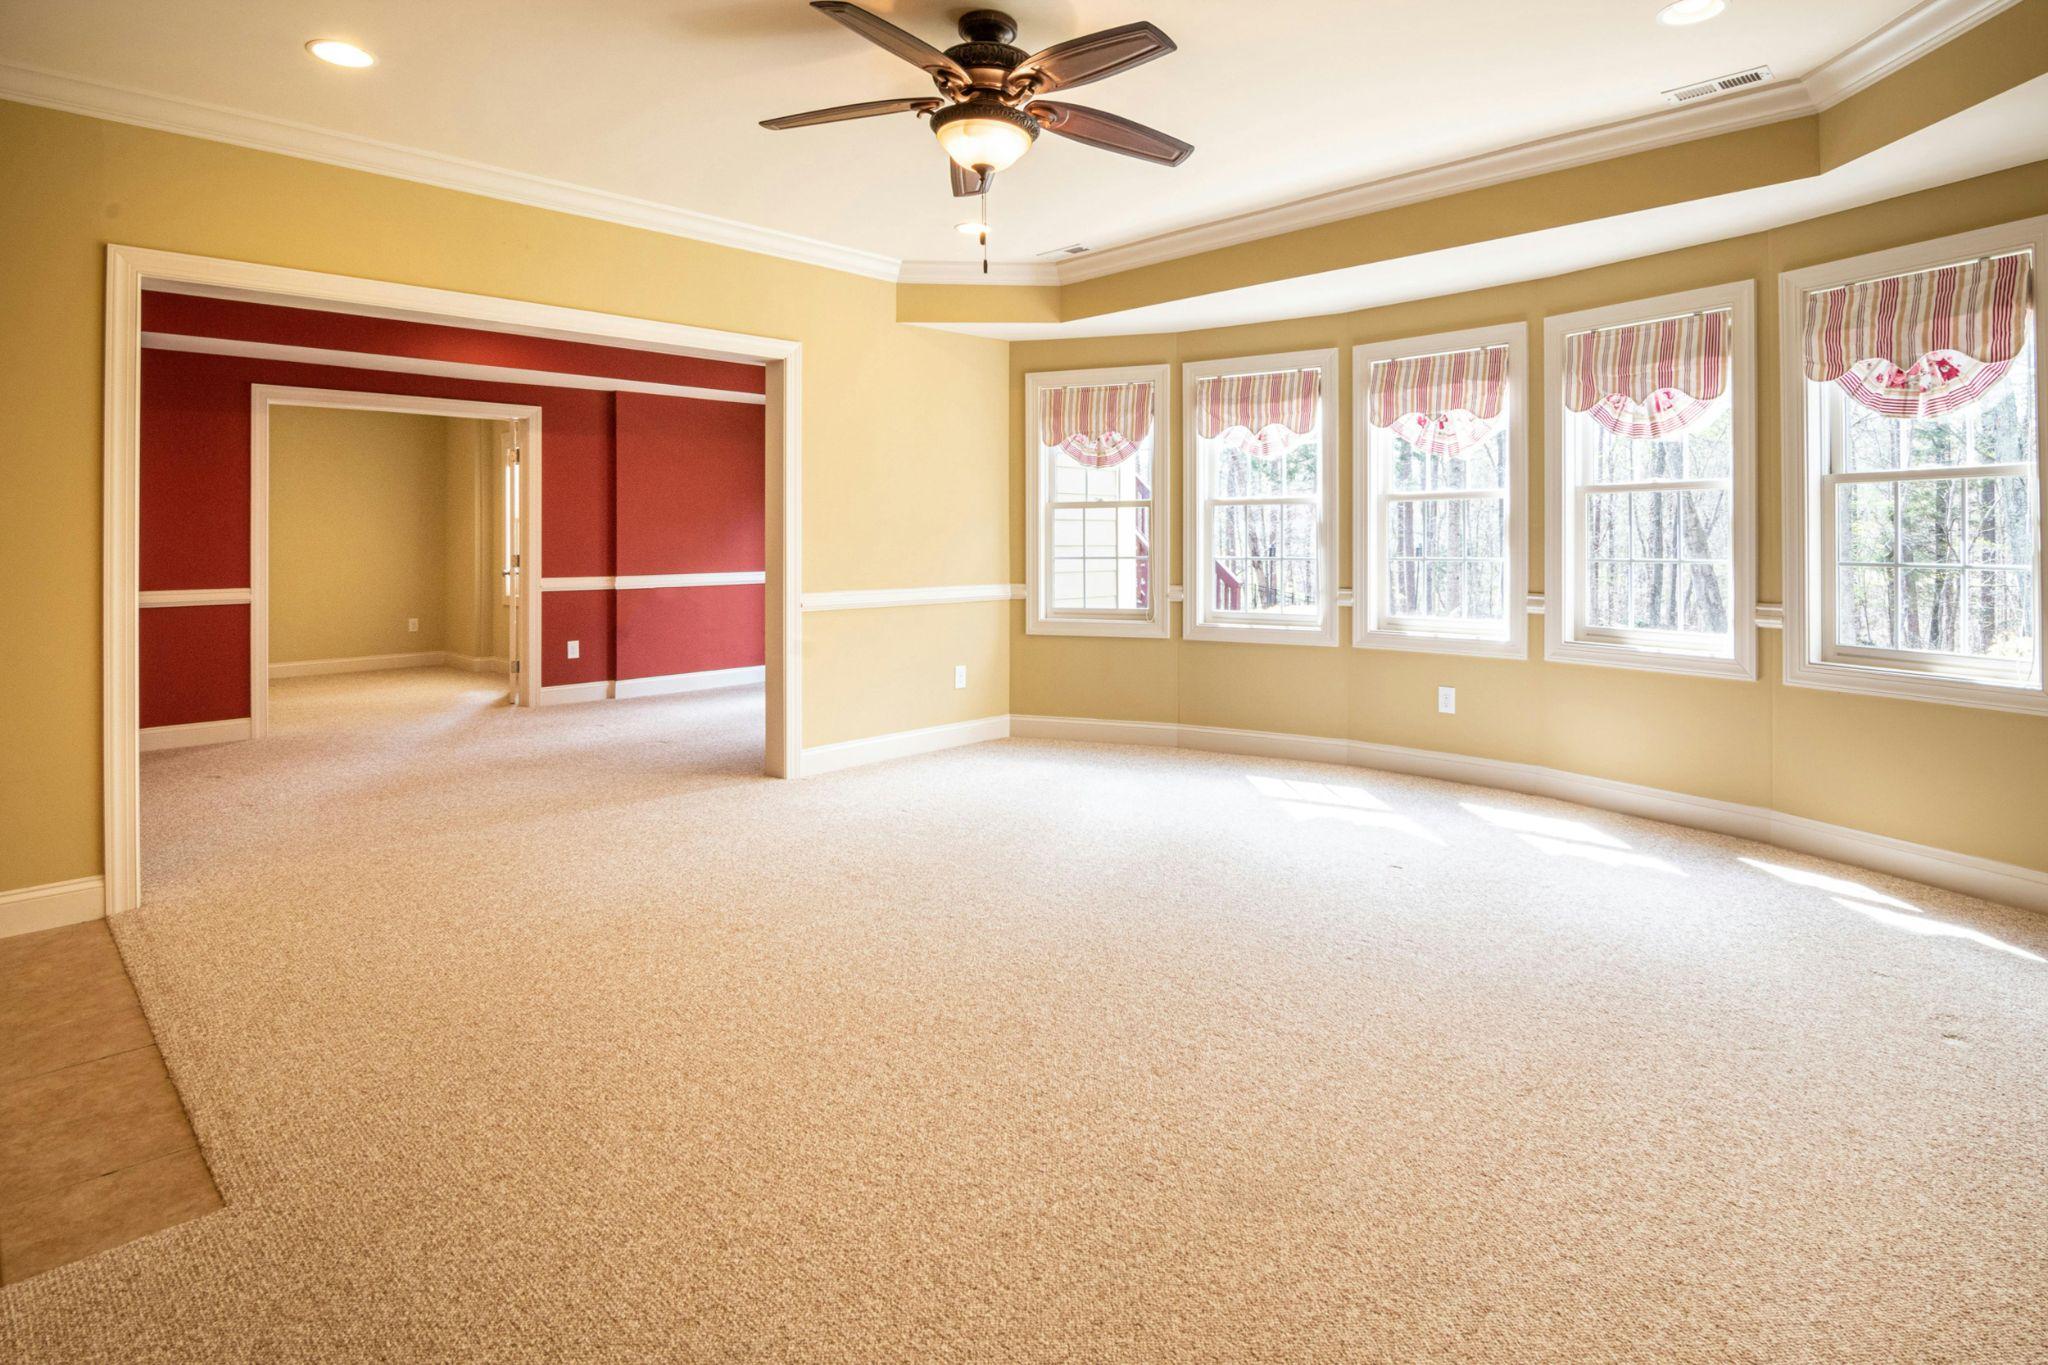
Open concept living spaces continue to dominate modern home design, offering flowing interiors that maximize light, create a sense of spaciousness, and facilitate connection between family members. However, designing these expansive areas presents unique challenges. The key lies in balancing functionality and aesthetics while maintaining distinct zones that serve different purposes. This comprehensive guide explores practical strategies to create harmonious open concept spaces that are both beautiful and livable. (more…)
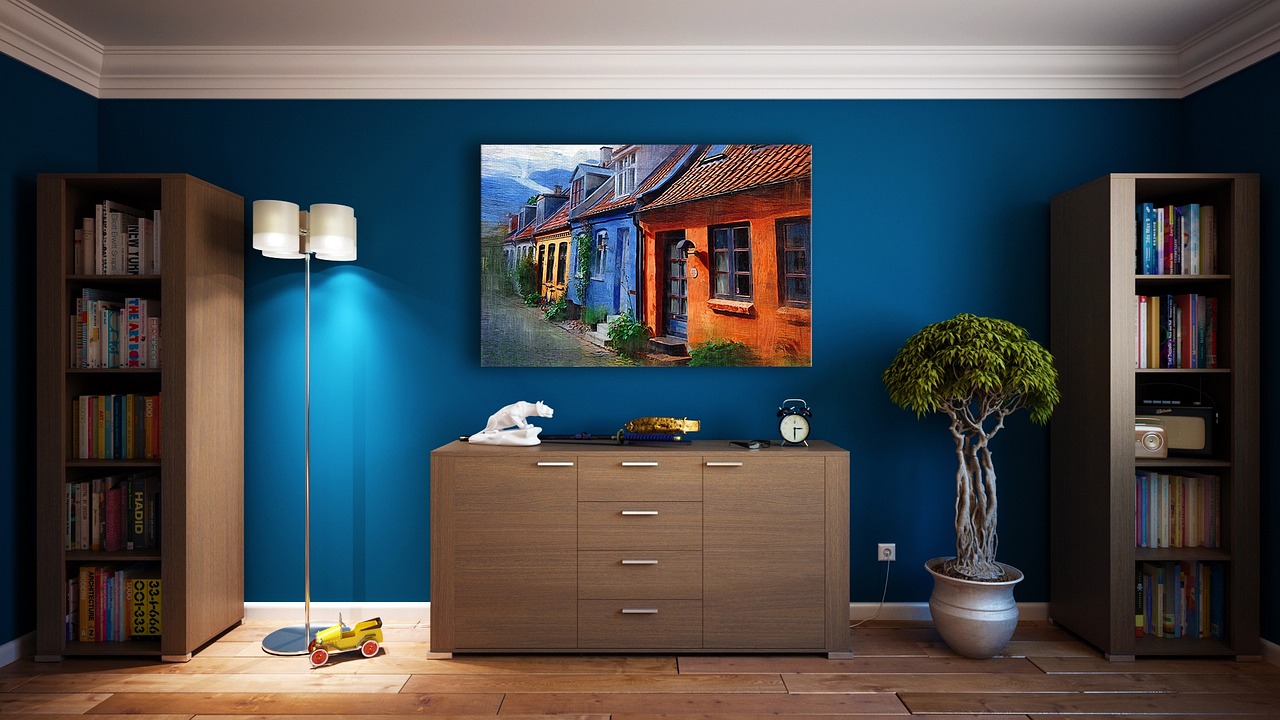
[Top]Creating a Cozy Living Room: Design Ideas for a Warm and Inviting Space
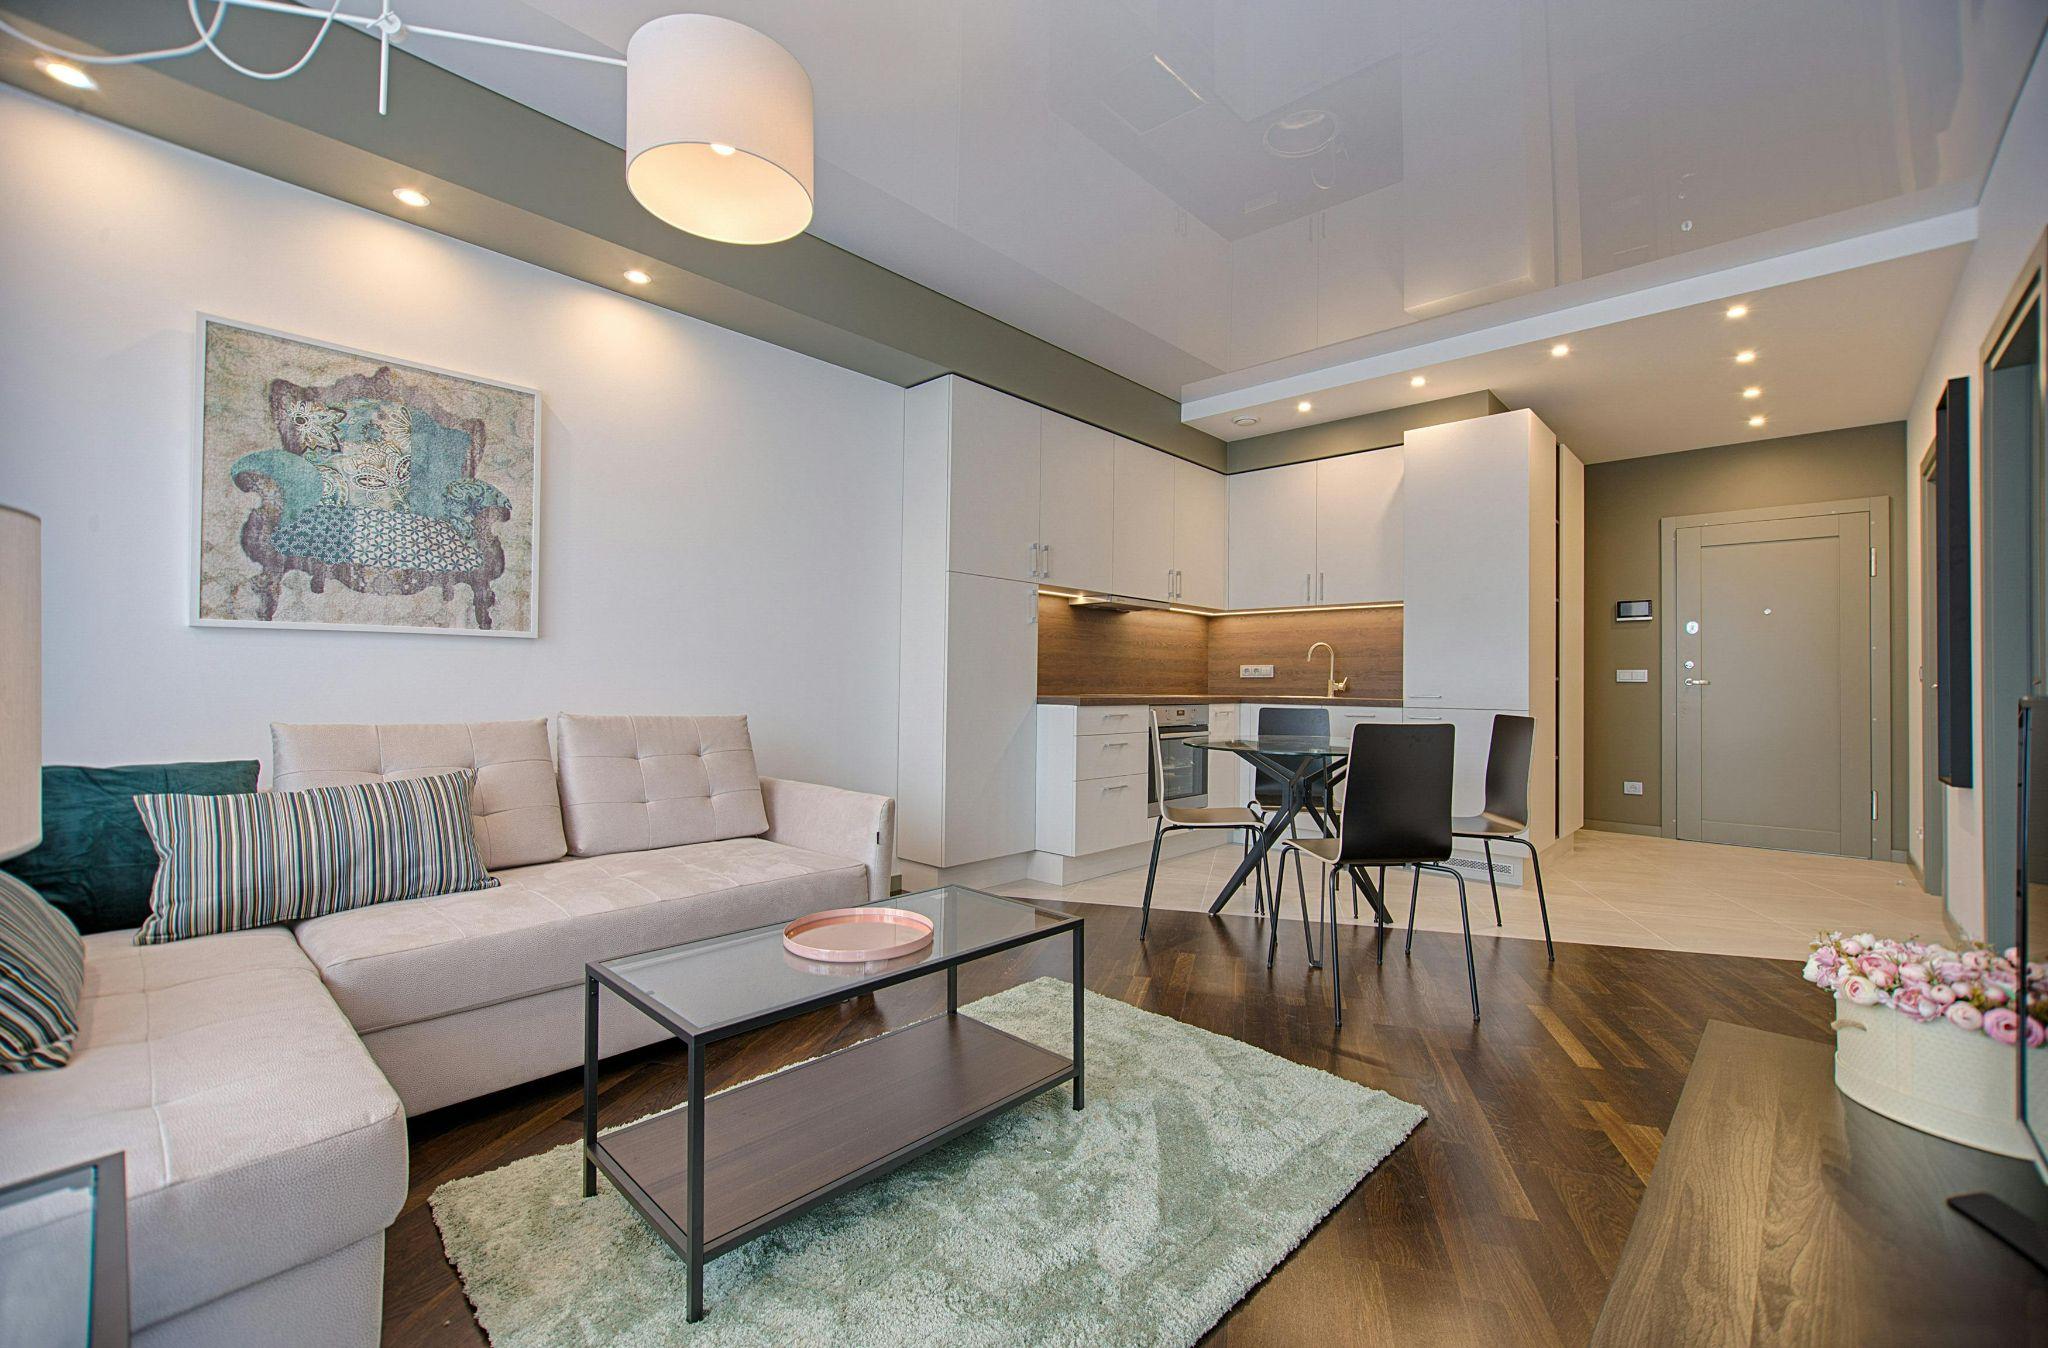
Transform your living room into a sanctuary of comfort and warmth with thoughtful design choices that create an inviting atmosphere for family and guests alike. A well-designed living room serves as the heart of your home, where comfort meets style to create lasting memories. (more…)
[Top]Eco-Friendly Home Design: Sustainable Materials and Practices
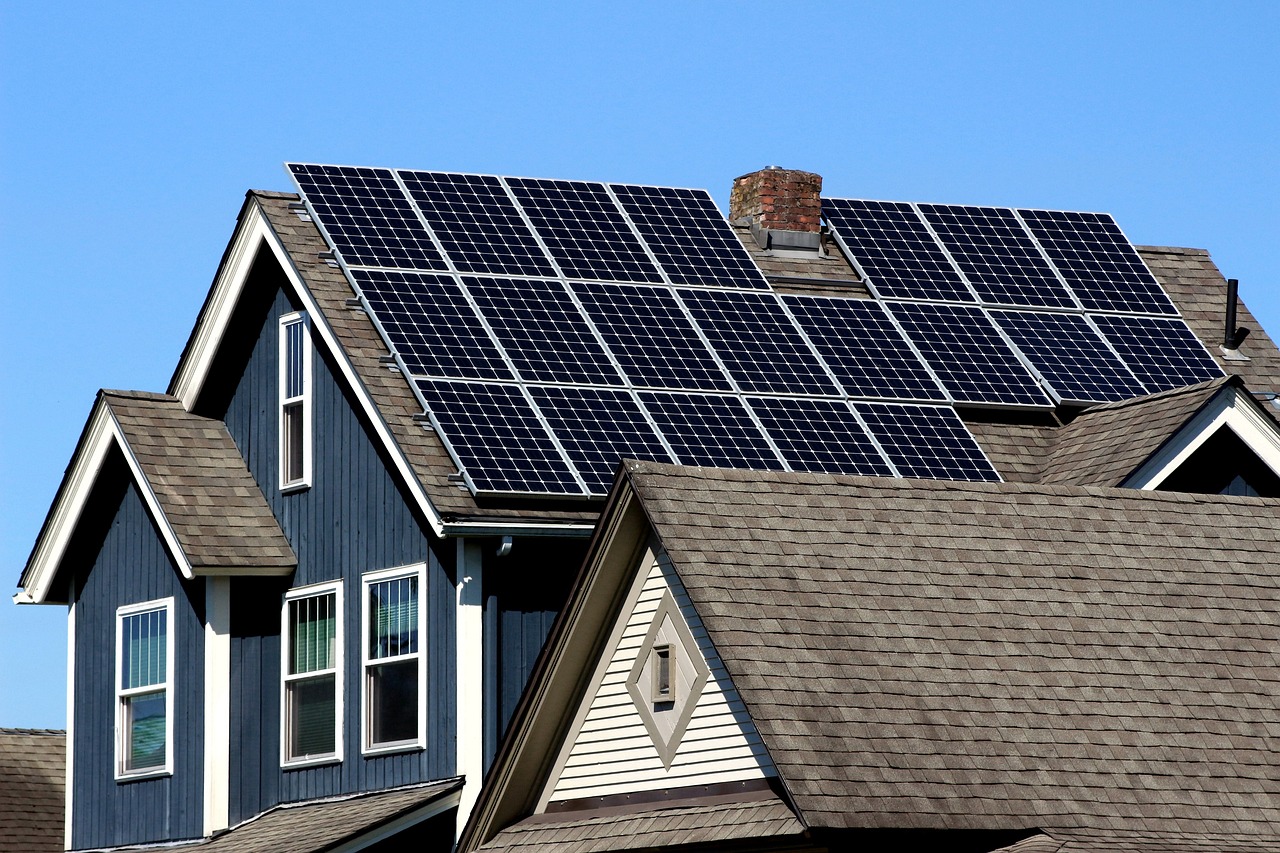
The evolution of modern architecture has witnessed a profound shift toward sustainable home design, driven by increasing environmental awareness and the urgent need to reduce carbon footprints. This comprehensive approach to construction integrates environmentally responsible practices with cutting-edge technology, creating homes that not only minimize environmental impact but also provide healthier living spaces while reducing long-term operational costs. (more…)
[Top]Breathing Life into Your Interior Design Community on Social Media

Have you ever dreamed of cultivating a thriving interior design community online? Well, you’re not alone. In this digital age we’re living in, social media has become the heartbeat of many successful design businesses. It’s where creativity flourishes, connections blossom, and your unique vision can truly shine.
[Top]Color Psychology in Interior Design: How to Choose the Perfect Palette for Your Home
The power of color extends far beyond mere aesthetics in interior design. Color psychology in interior design plays a crucial role in shaping the mood, atmosphere, and even functionality of our living spaces. By understanding how different hues affect our emotions and behaviors, we can create environments that not only look beautiful but also support our well-being and daily activities. This guide will explore how to harness the potential of color psychology to transform your home into a harmonious and inspiring sanctuary. (more…)
[Top]Maximizing Small Spaces: Smart Design Tips for Tiny Homes
In the world of compact living, mastering the art of maximizing small spaces is crucial. Tiny homes have gained immense popularity for their efficiency and minimalist appeal, but creating a comfortable and functional living space within limited square footage requires ingenious solutions. This guide will explore smart design tips for tiny homes that transform cramped quarters into cozy, well-organized sanctuaries. By implementing clever storage ideas, multi-functional furniture, and strategic layout planning, you can make your tiny home feel spacious and inviting. (more…)
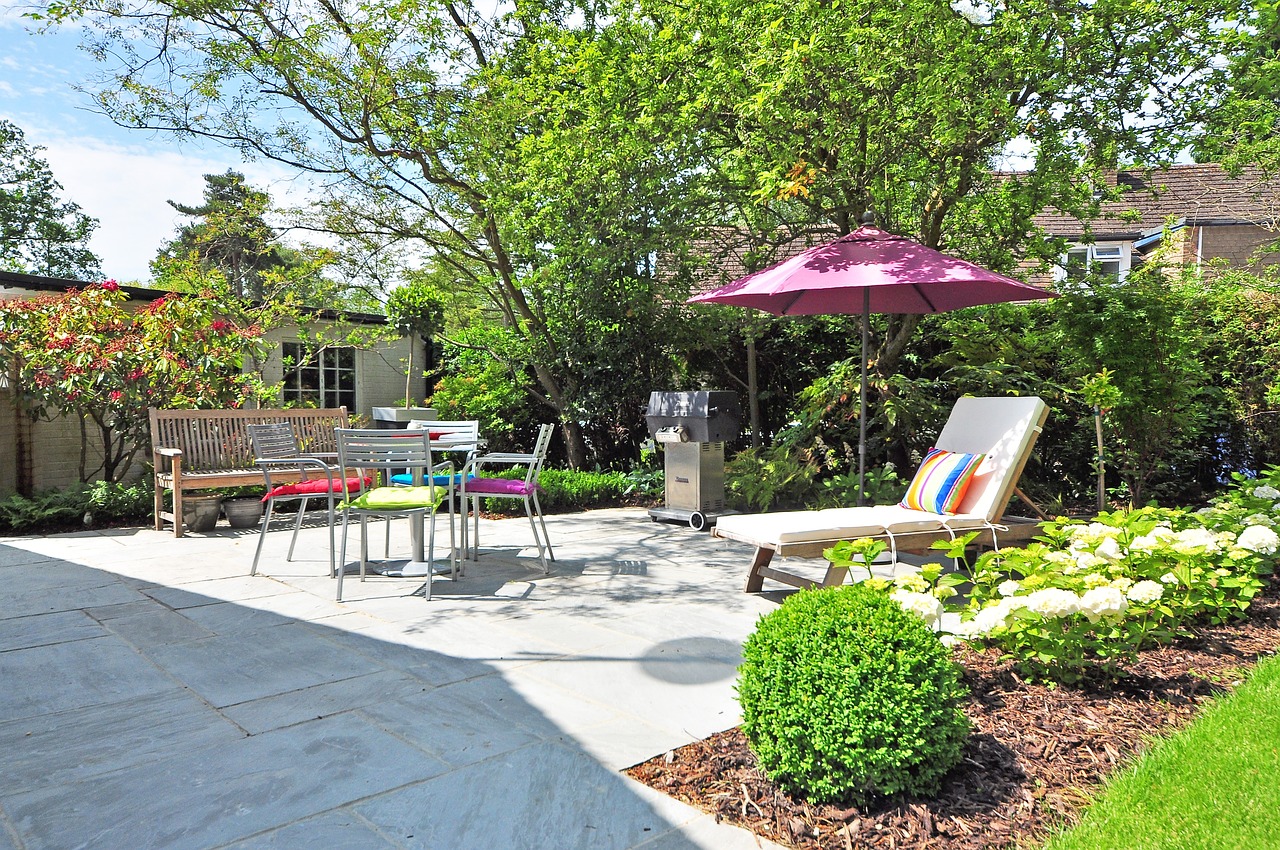
[Top]Creating Outdoor Living Spaces: Patios, Decks, and More
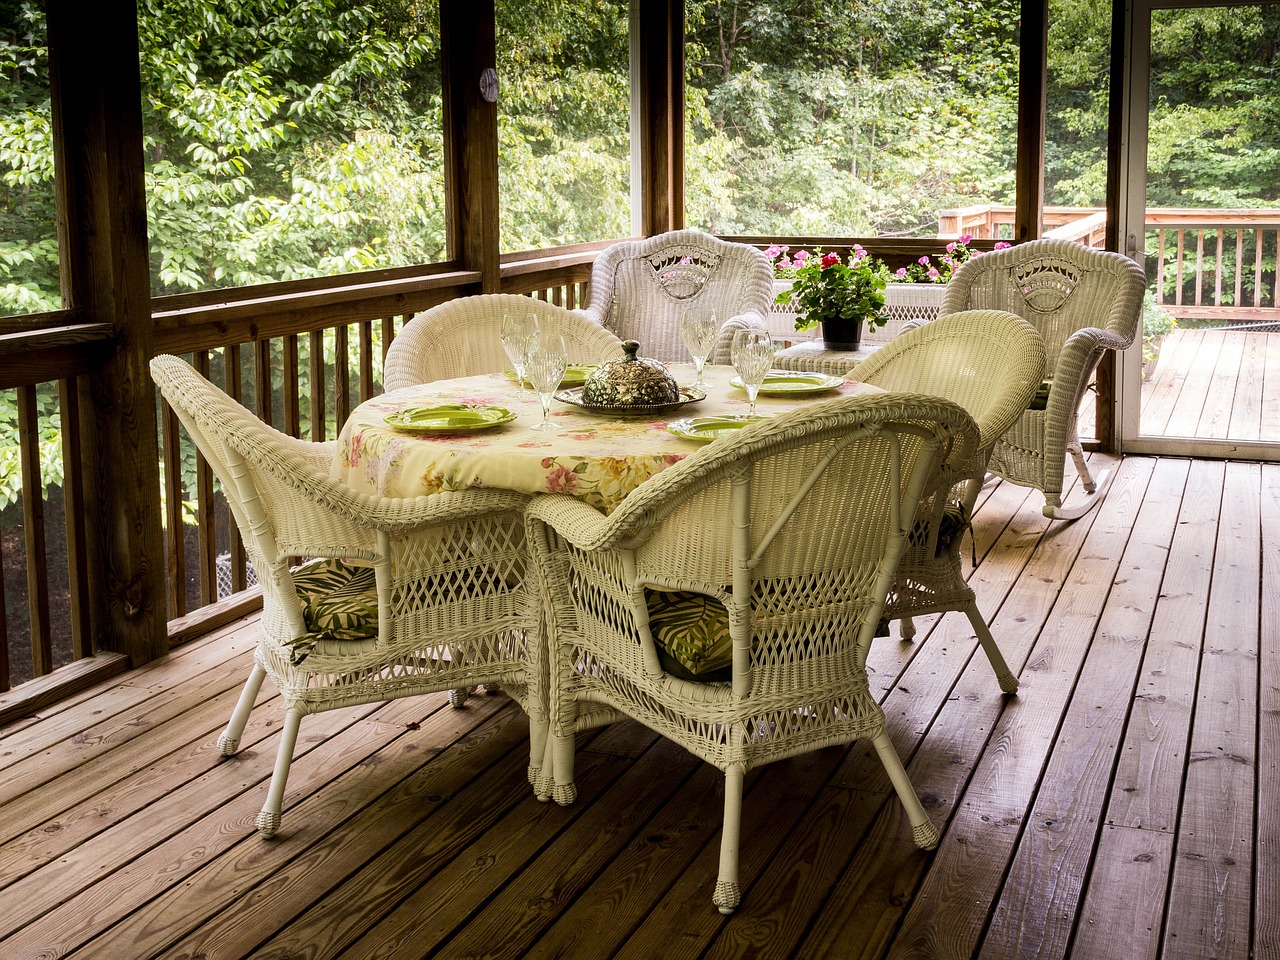
Planning Your Outdoor Living Space
Creating a functional and aesthetically pleasing outdoor living space requires careful planning and consideration. A well-designed outdoor area can serve as an extension of your home, providing additional space for relaxation, entertainment, and enjoying nature. Before diving into construction, it’s crucial to assess your needs, evaluate your available space, and establish a realistic budget. (more…)
[Top]The Art of Hardscaping: Adding Structure to Your Landscape
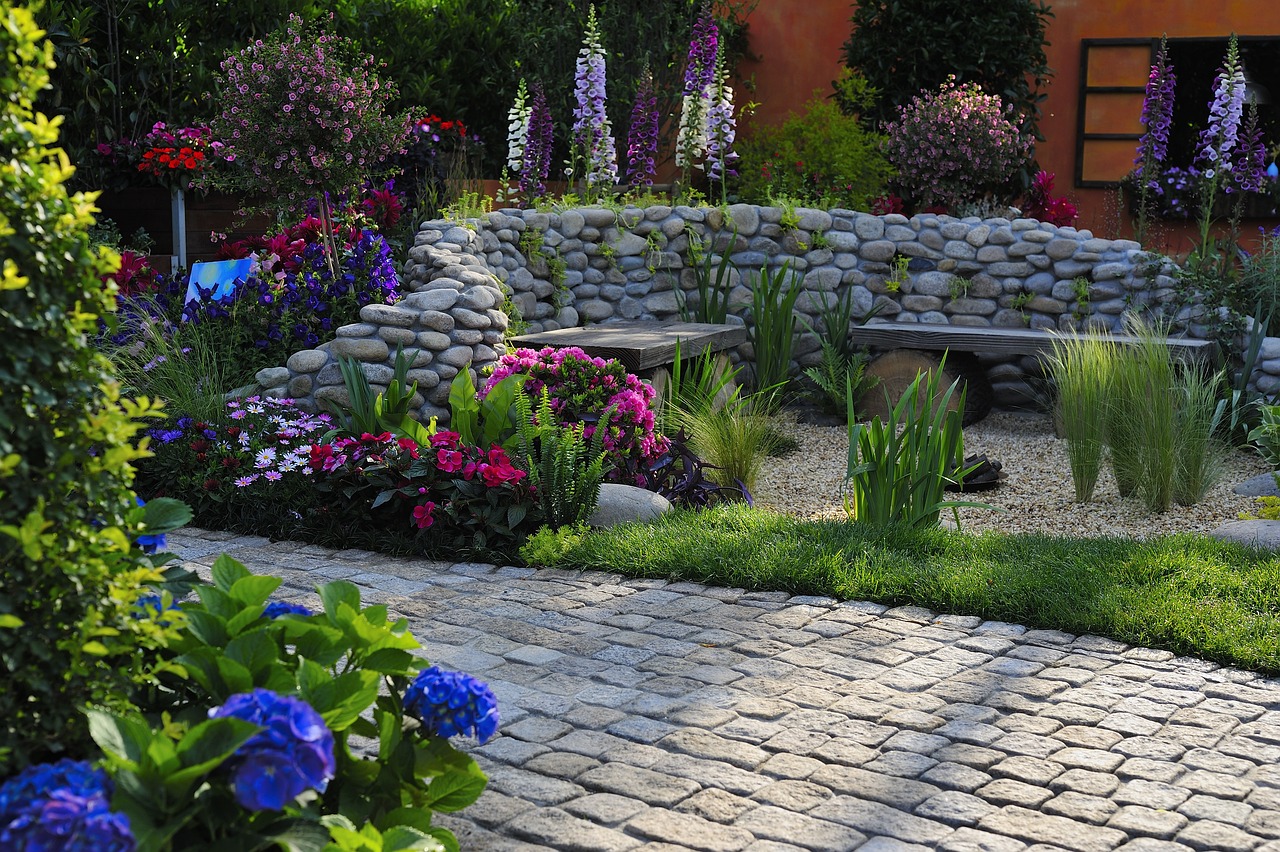
Hardscaping is a fundamental component of landscape design that encompasses all the non-living elements in your outdoor space. These structures provide the backbone of your landscape, creating definition, functionality, and visual interest. From pathways and retaining walls to patios and water features, hardscaping elements work in harmony with softscaping (plants and natural elements) to create a cohesive and appealing outdoor environment. (more…)
[Top]Transforming Small Yards: Big Ideas for Tiny Spaces
Effective planning is the cornerstone of maximizing the potential of a small yard. By carefully considering every inch of available space, you can create a functional and aesthetically pleasing outdoor area that feels much larger than its actual dimensions. The key to success lies in thoughtful design choices and creative solutions that make the most of limited square footage. (more…)
[Top]