
DIY Backyard Projects to Transform Your Outdoor Space
Transform your ordinary backyard into an extraordinary outdoor sanctuary with these creative DIY backyard projects. Whether you have a spacious yard or a compact outdoor area, these projects will help you maximize your space while adding functionality, beauty, and personal flair. From cozy seating arrangements to vertical gardens, lighting solutions, and decorative accents, these ideas will inspire you to roll up your sleeves and create the backyard oasis you’ve always dreamed of.
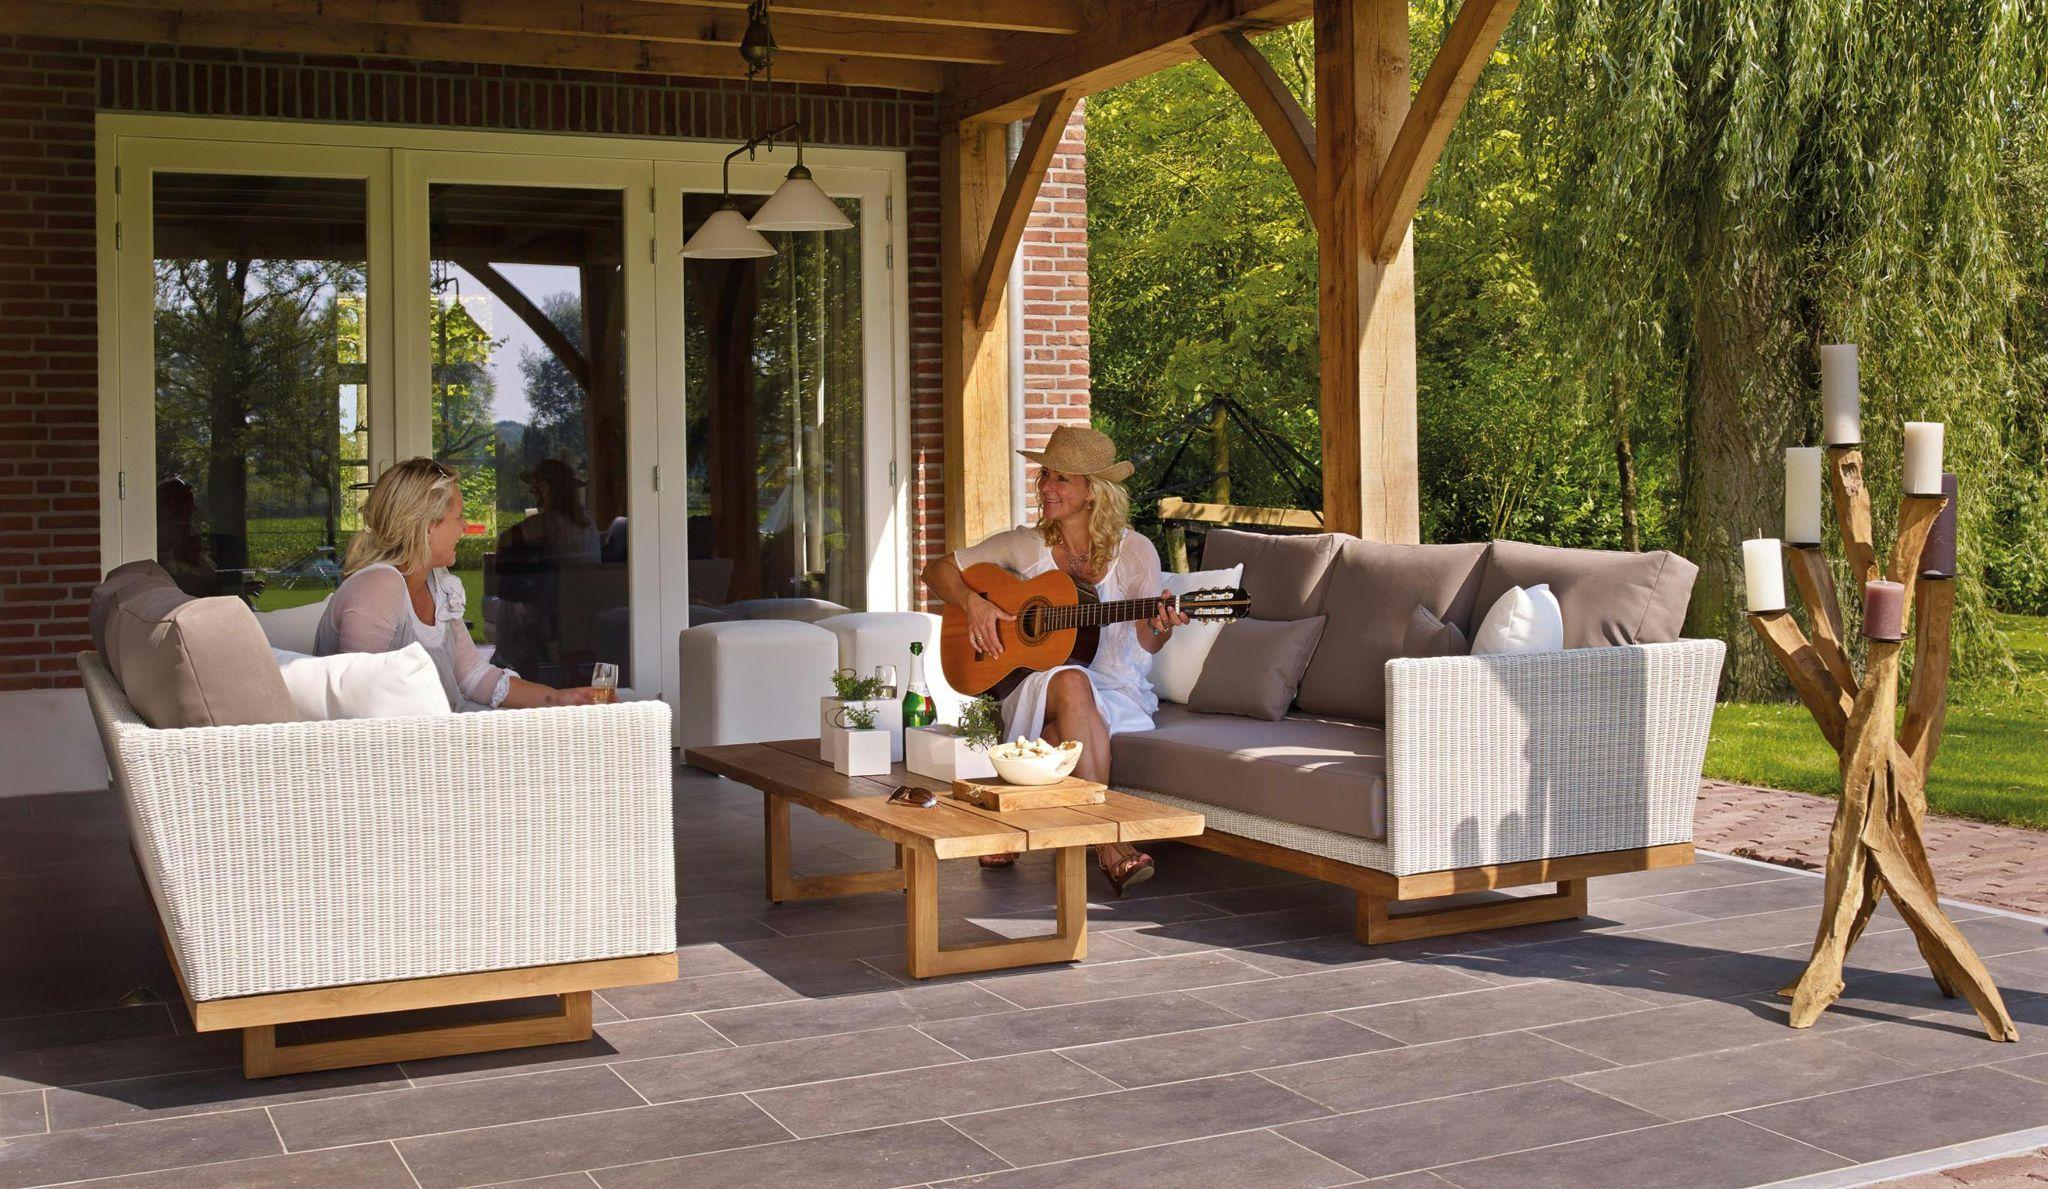
Create a Cozy Seating Area
The heart of any outdoor living space is a comfortable seating area where you can relax, entertain, and enjoy the fresh air. Creating dedicated zones for seating can transform how you use your backyard and extend your living space beyond the walls of your home.
Build a Fire Pit with Seating
A fire pit creates an instant gathering spot in your backyard, providing warmth, light, and a focal point for entertaining. Building your own fire pit is simpler than you might think and can save you hundreds of dollars compared to pre-made options.
Materials Needed:
- Concrete retaining wall blocks (50-60 blocks for a typical 3-foot diameter pit)
- Masonry adhesive
- Gravel (approximately 4-5 bags)
- Sand (1-2 bags)
- Level
- Measuring tape
- Spray paint for marking
- Shovel
- Tamper
- Metal fire pit ring (optional but recommended)
Step-by-Step Guide:
- Choose your location – Select a flat area at least 10-15 feet away from structures, overhanging trees, or flammable materials.
- Mark the area – Use spray paint to mark a circle where your fire pit will go. A diameter of 3-4 feet works well for most backyards.
- Excavate – Dig about 6-8 inches deep within your marked circle.
- Add drainage materials – Fill the bottom 2-3 inches with gravel for drainage.
- Add sand – Layer 1-2 inches of sand on top of the gravel and level it.
- Build the first layer – Place the first ring of blocks around the perimeter, making sure they’re level.
- Continue building – Add subsequent layers, staggering the joints between blocks and using masonry adhesive between layers for stability.
- Install fire ring – If using a metal fire ring, place it inside your block structure.
For seating, consider creating a ring of built-in benches around your fire pit or arranging weather-resistant chairs or benches to create a conversation area. Adirondack chairs, concrete blocks with cushions, or repurposed wooden logs can all serve as stylish, budget-friendly seating options.
According to a study by the American Society of Landscape Architects, fire pits consistently rank as one of the most popular outdoor design elements, with over 65% of homeowners prioritizing them in backyard renovations.
Install a Porch Swing
A porch swing offers a touch of nostalgic charm while providing a peaceful spot to relax with a book or enjoy morning coffee. While traditionally mounted on porches, these swings can be installed in various backyard locations.
Materials:
- Pre-made swing or swing kit
- Weather-resistant lumber (if building from scratch)
- Heavy-duty hanging chain or rope
- Ceiling hooks or hanging hardware rated for at least 500 pounds
- Drill
- Stud finder
- Level
- Measuring tape
- Paint or stain
- Cushions
Installation Instructions:
- Select your swing – Choose a pre-made swing or build one using weather-resistant wood like cedar or cypress.
- Choose the location – Find a sturdy overhead support, such as a pergola, strong tree branch, or dedicated swing frame.
- Mark mounting points – Ensure mounting points are level and properly spaced to match your swing width.
- Install mounting hardware – Secure heavy-duty hooks or eyebolts into ceiling joists or beams.
- Hang the chains – Attach chains or ropes to your mounting hardware.
- Mount the swing – Connect the swing to the chains and adjust the height so it sits 17-19 inches off the ground.
- Test for safety – Before full use, test the swing to ensure it supports weight properly.
Safety Tips:
- Weight capacity – Ensure all hardware is rated for at least 500 pounds.
- Regular inspection – Check chains, ropes, and mounting hardware regularly for wear or damage.
- Weather protection – Use weather-resistant materials and consider covering or storing the swing during harsh weather.
- Proper mounting – Always mount into structural supports, never into just drywall or unsupported boards.
Enhance Your Garden with Vertical Elements
When horizontal space is limited, think vertically! Vertical gardening not only maximizes your planting area but also creates visual interest, improves privacy, and can even help cool your outdoor space.
Construct a Vertical Garden
Vertical gardens allow you to grow plants in even the smallest outdoor spaces. They’re perfect for herbs, succulents, small vegetables, and flowering plants.
Materials:
- Wooden pallets, trellis panels, or purpose-built vertical planters
- Landscape fabric
- Staple gun and staples
- Potting soil
- Plants
- Screws or mounting hardware
- Drill
- Plant watering system (optional)
Construction Steps:
- Prepare your structure – If using a pallet, sand rough edges and consider painting or staining it.
- Add backing – Line the back and sides with landscape fabric to contain soil, stapling it in place.
- Mount your structure – Secure your vertical garden to a wall, fence, or support structure.
- Add soil – Fill pockets or compartments with quality potting soil.
- Plant your selections – Insert plants, starting from the bottom and working up.
- Install irrigation – Consider adding a drip irrigation system for easier watering.
Best Plants for Vertical Gardens:
| Plant Type | Benefits | Care Level |
|---|---|---|
| Herbs (Basil, Thyme, Rosemary) | Edible, aromatic, practical | Easy |
| Succulents | Drought-tolerant, low maintenance | Very Easy |
| Ferns | Add texture, shade-tolerant | Moderate |
| Strawberries | Produce fruit, trailing habit | Moderate |
| Lettuce and Greens | Edible, quick growing | Easy |
| Petunias and Calibrachoa | Colorful flowers, trailing habit | Easy |
| Air Plants | No soil needed, unique appearance | Easy |
Maintenance Tips:
- Water more frequently than ground plants, as vertical gardens dry out faster
- Fertilize regularly with a diluted liquid fertilizer
- Replace plants as needed to maintain appearance
- Check for pests regularly, as infestations can spread quickly in close plantings
Build an Herb Spiral
An herb spiral is an ingenious garden design that creates multiple microclimates in a small space, allowing you to grow a variety of herbs with different needs in one compact area.
Materials:
- Bricks, stones, or concrete blocks (approximately 100-200 depending on size)
- Compost and potting soil
- Gravel for drainage
- Various herbs
- Measuring tape
- Garden hose or rope (for marking)
Construction Steps:
- Mark the footprint – Use a garden hose or rope to create a spiral shape, starting with a circle about 5-6 feet in diameter.
- Create foundation – Remove grass/weeds and add a layer of gravel for drainage.
- Build the walls – Starting from the outside, build the spiral walls with your chosen material, gradually increasing height toward the center (up to about 3 feet tall).
- Add soil – Fill with soil mixture, creating a slope from top to bottom.
- Plant herbs – Plant drought-tolerant herbs at the top (rosemary, thyme, sage) and moisture-loving herbs at the bottom (mint, parsley).
An herb spiral typically creates at least three distinct planting zones:
- Top zone – Sunny, well-drained, perfect for Mediterranean herbs
- Middle zone – Semi-moist, good for herbs like oregano and chives
- Bottom zone – Shadier and moister, ideal for mint, cilantro, and parsley
Add Ambiance with Lighting
Outdoor lighting extends the usability of your backyard into the evening hours while creating a magical atmosphere. Strategic lighting transforms your garden from a daytime-only space into a 24-hour retreat.
Hang String Lights
String lights (also called fairy lights or bistro lights) create an instant festive atmosphere and provide gentle illumination for evening gatherings.
Hanging Techniques:
- Zigzag pattern – Run lights back and forth across a space, secured to sturdy points.
- Perimeter lighting – Run lights around the edge of a patio, deck, or pergola.
- Canopy effect – Create a “ceiling” of lights above a seating area.
- Tree wrapping – Wind lights around tree trunks and branches.
Materials:
- Outdoor-rated string lights
- Eye hooks, cup hooks, or guide wire
- Extension cords (outdoor-rated)
- Cable ties or garden wire
- Timer or smart plug (optional)
- Drill
- Ladder
Safety Considerations:
- Use only outdoor-rated lights and extension cords
- Keep connections off the ground and protected from moisture
- Secure wires to avoid trip hazards
- Consider using low-voltage systems for added safety
- Install a GFCI outlet if you don’t already have one outdoors
Install Solar-Powered Path Lights
Solar path lights enhance safety by illuminating walkways while adding charming visual elements to your landscape. They’re eco-friendly and eliminate the need for electrical wiring.
Installation Process:
- Map out placement – Space lights 6-8 feet apart along pathways or garden borders.
- Remove stakes – Take apart lights if necessary.
- Insert stakes – Push stakes firmly into the ground.
- Attach lights – Connect light fixtures to stakes.
- Allow for charging – Give lights a full day of sun before expecting maximum performance.
Comparison of Solar Light Options:
| Type | Brightness | Battery Life | Durability | Price Range | Best For |
|---|---|---|---|---|---|
| Basic Stake Lights | Low-Medium | 6-8 hours | Moderate | $2-5 each | Basic path marking |
| Premium Stake Lights | Medium-High | 8-12 hours | Good | $10-20 each | Garden accents |
| Spotlight | High | 6-10 hours | Very Good | $20-40 each | Highlighting features |
| Motion-Sensor Lights | Very High | 4-6 hours (when activated) | Good | $15-30 each | Security areas |
| String Solar Lights | Low | 6-8 hours | Moderate | $15-25 set | Decorative accents |
| Solar Lanterns | Medium | 6-8 hours | Good | $15-40 each | Tables, hanging |
Pro Tips:
- Position solar panels to receive maximum sunlight
- Clean panels occasionally to maintain efficiency
- Consider removing and storing premium lights during winter in harsh climates
- Look for lights with replaceable batteries to extend lifespan
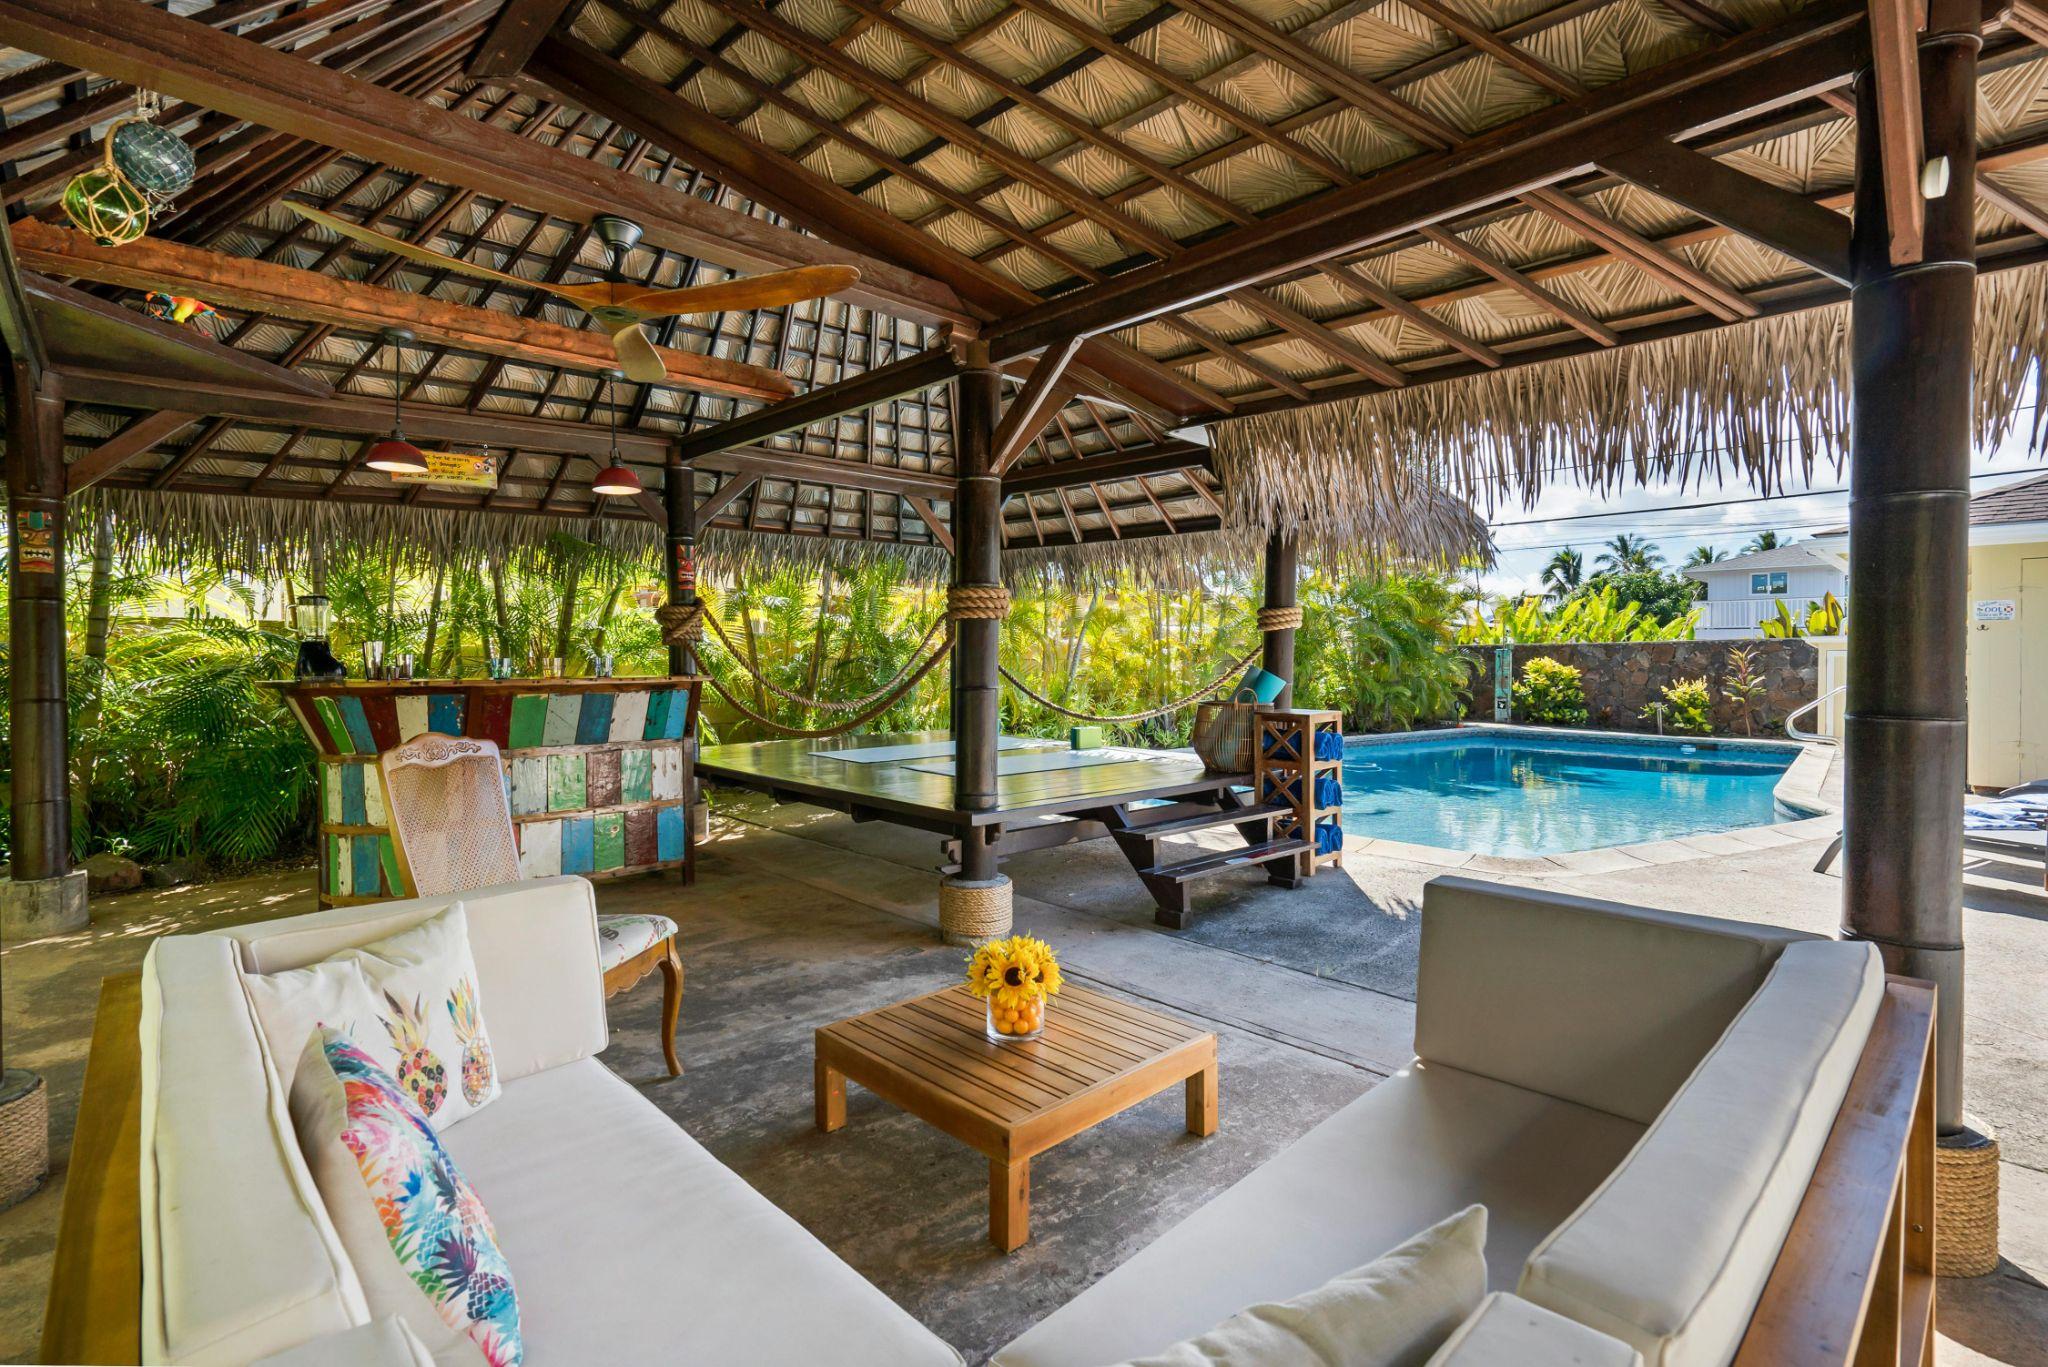
Incorporate Functional Structures
Adding architectural elements to your backyard not only enhances its appearance but also increases functionality, providing shade, storage, and defined spaces for different activities.
Build a Pergola
A pergola creates an outdoor room, defining space while providing filtered shade and a structure for climbing plants. It’s the perfect framework for creating an outdoor dining or lounging area.
Materials:
- Pressure-treated lumber or cedar (posts, beams, rafters)
- Concrete
- Gravel
- Post hole digger or power auger
- Level
- Drill and bits
- Screws and bolts
- Measuring tape
- Saw
- Optional shade cloth or retractable canopy
Basic Construction Steps:
- Plan your design – Determine size and height (typically 8-10 feet tall).
- Mark post locations – Typically 4 posts in a rectangle 8-12 feet apart.
- Dig post holes – Create holes 1/3 the height of your posts, about 10-12 inches in diameter.
- Set posts – Place posts in holes, add gravel for drainage, fill with concrete, and ensure they’re plumb.
- Attach support beams – Once concrete cures, attach horizontal beams to connect posts.
- Add cross beams – Install rafters perpendicular to support beams.
- Add finishing touches – Consider lattice sides, climbing plants, or a retractable canopy.
Design Options:
- Attached pergola – Connected to your house on one side
- Freestanding pergola – Placed anywhere in your yard
- Arched top – Adds architectural interest
- Louvered roof – Adjustable slats for variable shade
Create a Garden Shed
A garden shed provides essential storage while adding character to your landscape. Building your own allows you to customize the size, style, and features to perfectly suit your needs.
Materials:
- Pressure-treated lumber for framing
- Plywood for flooring and roof sheathing
- Siding (T1-11, board and batten, or vinyl)
- Roofing materials (shingles, metal, or corrugated panels)
- Door(s) and hardware
- Windows (optional)
- Nails and screws
- Foundation materials (concrete blocks, gravel, or poured slab)
Basic Construction Process:
- Prepare the site – Clear, level, and create a foundation.
- Build the floor frame – Construct using pressure-treated 2×6 or 2×8 lumber.
- Add flooring – Attach 3/4″ pressure-treated plywood.
- Frame the walls – Construct wall frames on the ground, then raise them.
- Install roof trusses – Add pre-built or site-built roof support.
- Add sheathing and roofing – Cover roof framework with plywood, then add roofing material.
- Attach siding – Cover exterior walls.
- Install door and windows – Add entries and natural light sources.
- Finish interior – Add shelving, hooks, and organization systems.
Customization Ideas:
- Potting bench – Include a built-in workspace for garden projects
- Tool organization – Install pegboard walls or specialized storage
- Solar power – Add a small panel for lighting
- Living roof – Create a green roof planted with sedums
- Rainwater collection – Integrate gutters and a rain barrel
- Dutch door – Install a split door for ventilation while keeping animals out
Personalize with Decorative Accents
The finishing touches you add to your backyard make it uniquely yours. Decorative elements express your personality and transform functional spaces into memorable outdoor environments.
Paint a Mural or Install Art
Outdoor art installations bring color, personality, and focal points to your garden. They can disguise unattractive features, enhance themes, and provide joy year-round.
Mural Ideas:
- Trompe l’oeil – Create the illusion of a window, door, or extended garden
- Abstract designs – Add color and movement with non-representational patterns
- Nature scenes – Extend your garden with painted flowers, landscapes, or wildlife
- Geometric patterns – Create modern, clean designs with shapes and bold colors
Materials for Outdoor Art:
- Exterior-grade paints
- Marine-grade varnish or sealer
- Weather-resistant materials (metal, stone, treated wood, ceramic)
- UV-resistant coatings
Weatherproofing Tips:
- Use quality exterior paints designed to withstand sun and moisture
- Apply multiple protective clear coats over artwork
- Create proper drainage for three-dimensional pieces
- Consider seasonal storage for valuable or delicate items
- Install art slightly elevated from the ground to prevent water damage
DIY Outdoor Furniture
Custom-built outdoor furniture allows you to create pieces perfectly sized for your space while saving money and expressing your creativity.
Simple Pallet Bench Project:
Materials:
- 2-3 wooden pallets
- Sandpaper (60, 120, and 220 grit)
- Exterior wood stain or paint
- Polyurethane sealer
- Screws
- Drill
- Saw
- Cushions or outdoor fabric
Construction Steps:
- Disassemble or cut pallets as needed for your design
- Sand thoroughly to remove splinters and rough edges
- Construct bench frame using the sturdiest pallet pieces
- Add seat and backrest using remaining boards
- Sand again for a smooth finish
- Stain or paint in your desired color
- Seal thoroughly with exterior-grade polyurethane
- Add cushions made from outdoor fabric
Other DIY Furniture Ideas:
- Concrete block and wood bench – Alternate cinder blocks and treated lumber for an industrial-modern look
- Adirondack chairs – Classic, comfortable seating with plans widely available online
- Outdoor dining table – Build from reclaimed wood for a rustic farmhouse feel
- Sectional seating – Create modular pieces that can be rearranged as needed
- Hanging daybed – Suspended platform bed for ultimate relaxation
Conclusion
Transforming your backyard doesn’t require a professional landscaper or an enormous budget. With these DIY backyard projects, you can gradually create an outdoor space that reflects your personality and meets your needs for relaxation, entertainment, and connection with nature.
Start with smaller projects like installing path lights or building a vertical garden, then work your way up to larger undertakings like pergolas or fire pits. Each completed project will build your confidence and skills while enhancing your outdoor living experience.
Remember that your backyard is an extension of your home and a reflection of your lifestyle. By investing time in these DIY projects, you’re creating not just a beautiful space, but also a setting for memories with family and friends for years to come.